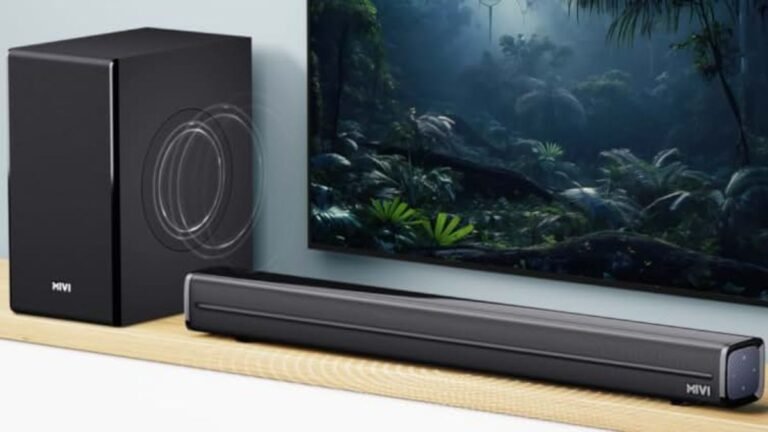
Soundbars become a more popular choice in this rapidly growing tech world, As TVs are becoming thinner, their audio quality is becoming less good, and due to this problem, the demand for soundbars has increased a lot in the market. If you have recently purchased a Zebronics soundbar and don’t know how to connect it to your TV, then you have come to the right place. In this article, we will guide you through the step-by-step process of connecting your Zebronics soundbar to your TV.
Step 1: Gather the Necessary Cables
But before we begin, make sure you have all the necessary cables, and by chance you don’t have then buy one. For connecting your Zebronics soundbar to the TV, you need an HDMI cable or an optical cable.
Step 2: Identify the Audio Output on Your TV
The 2nd step is that you need to check the connectivity options(ports) available on your TV. Nowadays most smart TVs come with multiple connectivity options, such as HDMI ARC, Optical IN, and Aux IN Ports.
Step 3: Connect the Soundbar to Your TV
The method of connecting your Zebronics soundbar to your TV will depend on the available connectivity options on your TV.
Here are the two most commonly used methods are:
Also Read: Best 5.1 Soundbar in India
Method 1: HDMI Port Connection
If your TV has an HDMI ARC port, follow these steps:
- First, Locate the HDMI ARC port on your TV and the HDMI ARC port on your soundbar.
- Connect one end of the HDMI cable to the HDMI ARC port on your TV and the other end to the HDMI ARC port on your soundbar.
- Turn on your both TV and soundbar.
- Using your TV remote, navigate to the settings menu and select the audio output settings.
- Choose the HDMI ARC option as the audio output.
Method 2: Optical Port Connection
If your TV has an optical IN audio port, follow these steps:
- First, Locate the Optical port on your TV and also the Optical input port on your soundbar.
- Connect one end of the optical cable to the optical audio output port on your TV and the other end to the optical audio input port on your soundbar.
- Turn on your both TV and soundbar.
- Using your TV remote, navigate to the settings menu and select the audio output settings.
- Choose the optical audio output option.
Step 4: Adjust the Soundbar Settings
Once you have successfully connected your Zebronics soundbar to your TV, you may need to do some settings on the soundbar itself. Most soundbars come with a dedicated remote control that allows you to control the volume, bass, treble, and other sound settings. Equalise with these settings to set the optimal sound quality for your taste.
Step 5: Test the Soundbar
At last, it’s time to listen to your newly connected Zebronics soundbar’ audio. Play some audio or a video on your TV and listen to the sound coming from the soundbar. If everything is connected correctly, you should hear the audio through the soundbar’s speakers.
Congratulations! You have successfully connected your Zebronics soundbar to your TV. Enjoy the enhanced audio experience and immerse yourself in your favourite movies, TV shows, and music. Remember, if you encounter any issues during the setup process, refer to the user manual that came with your Zebronics soundbar or reach out to their customer support for assistance.